
This post is also available in:
In this tutorial, we will show you all the steps to create a professional email signature from scratch using the Bybrand editor. Creating from scratch is an advanced method that allows you to create your own templates.
To complete the tutorial, we have a step-by-step video of all the steps. Watch it:
Creating a new signature from scratch
When clicking the button to create an email signature, you can see an option to Create from scratch, or use the direct link on the main dashboard.
Steps:
- Access the Bybrand main dashboard
- Click on the “Create signature” button and select “Create from scratch”
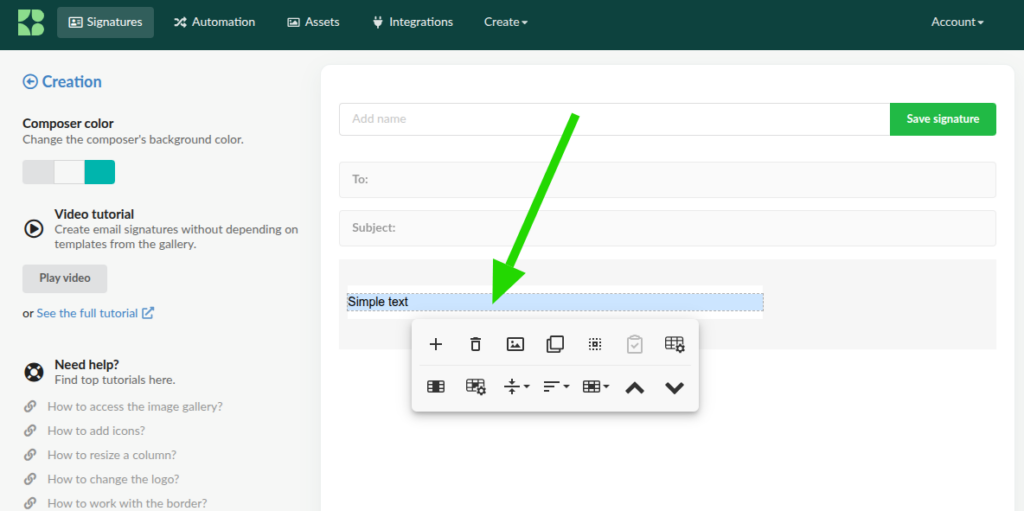
- You will be redirected to the editor, which will start with a simple text field.
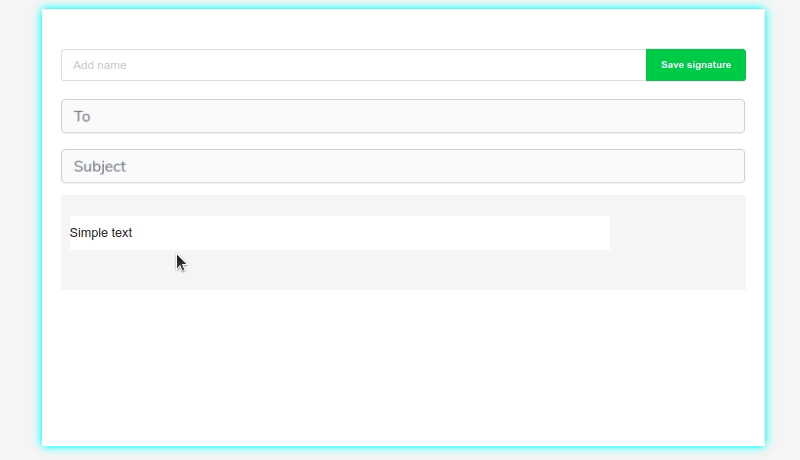
Here is an example:

After clicking, you will be redirected to the editor’s page.
On this page, you can start creating the signature from scratch. The editor starts with a simple text field.
Adding elements
Note that the email signature is loaded without personal data. So, you should add the fields you want using the Bybrand editor. For example, a title line, text, or table.
Here is an example:
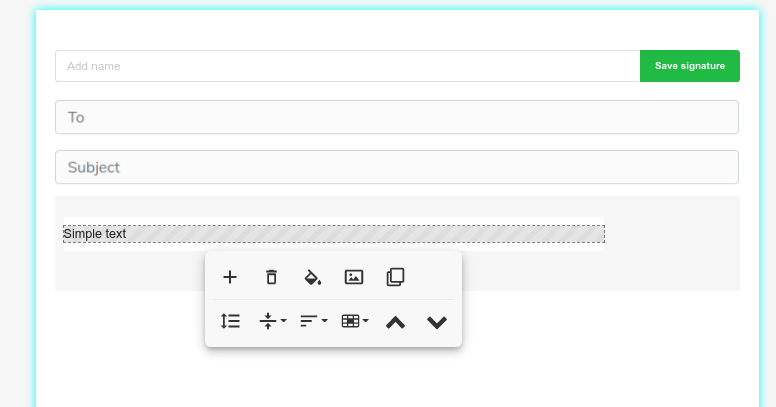
You can add new options in the email signature area by clicking the (+) button in the editor. And then, complete the information with personal data.
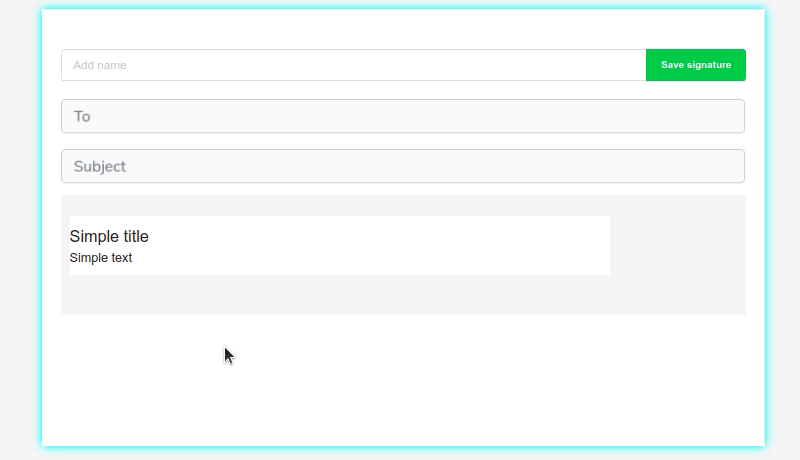
Here’s a quick example of adding a title field:
See another example adding a table:
HTML table
Tables are very useful for dividing elements. For example, logo area, company information, and social icons. This way, you build your email signature from scratch.
There are seven types of tables with columns.
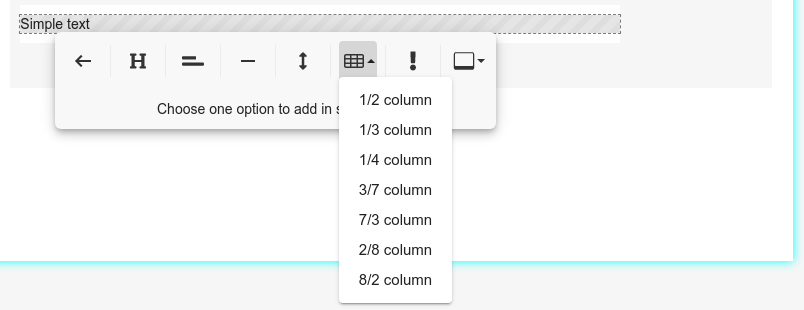
In our example above, if you click on the column with 2/8, you will create a new table with two columns, one with 20% and the other with 80% width.
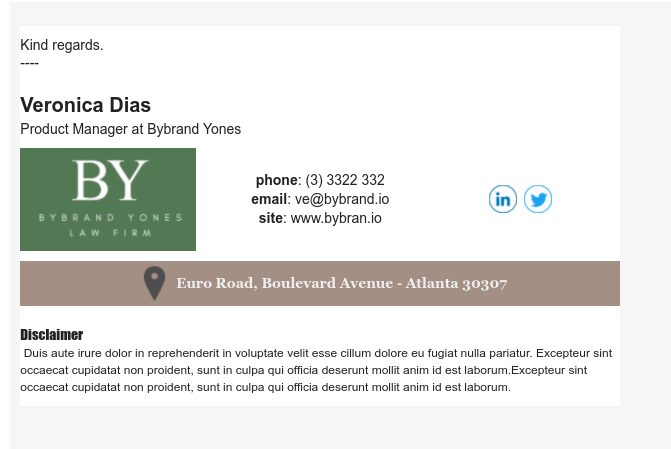
Here you can see a result of our example of an email signature created from scratch. You can observe that the area where the company logo is located is an HTML table with three columns (1/3).
The other fields are normal lines.
Resize internal columns
You can change the width of an internal column, but note that internal columns receive the value in percentage.
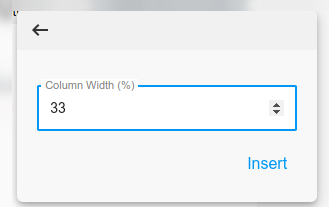
Read a complete tutorial at: How to change the size of a column in the signature.
Resizing major column
You can also change the width of the main column. To complete this, click on the Quick Changes button and then on the Resize Main Column option.

Read the full tutorial here: Changing the main width of the email signature.
Extras
Then check out these other helpful tutorials as well.
Conclusion
Try different combinations of elements and designs to create a unique and professional email signature. Remember to maintain consistency with your company’s visual identity.
For a more in-depth understanding, watch the video tutorial available at the beginning of this guide.