
This post is also available in:
You can apply padding in any main cell or email signature row. This can be useful to correct the alignment of the signature with the email content or border.
The padding CSS property sets the padding area on all four sides of an element. [1]
The Padding option appears when you click on a cell in the email signature. Or you can also select multiple internal cells.
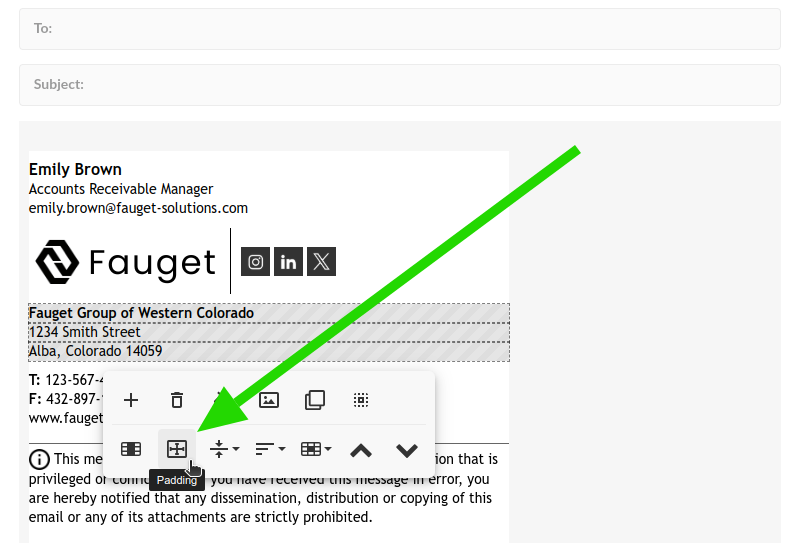
Also, in external cell. In our example below, you can see that the current padding is 0 pixels, and a 10 pixel right-left padding is added.
You can change these values to define your own settings.
- In the signature main cell, it is possible to apply only on the sides – right-left (like the example above).
- For the cell content and rows, you can apply padding at the top and bottom.
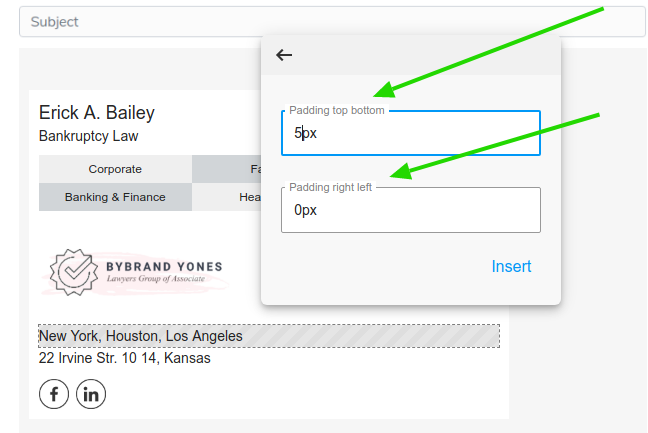
Padding on content row
In this example, it is possible to observe that we are selecting the New York City row, and applying padding of 5px at the top and bottom. The right and left area a value with 0px;
Video tutorial
In this video, we are changing the email signature padding to 0 pixels, and at the end, adding 4 pixels to the cell row.
Related
Any questions, please contact our support by email or chat.