
This post is also available in:
In this quick tutorial, you will learn how to add and remove placeholders for a dynamic email signature in an automation.
These placeholders will be automatically filled with the information of the listed employees. This helps you create standardized email signatures quickly and efficiently.
Select the automation
On the homepage, select the automation for which you want to add or remove placeholders for the email signature.
Visit the Automation menu, click on the gear icon Settings (⚙️). Then click Manage placeholders.
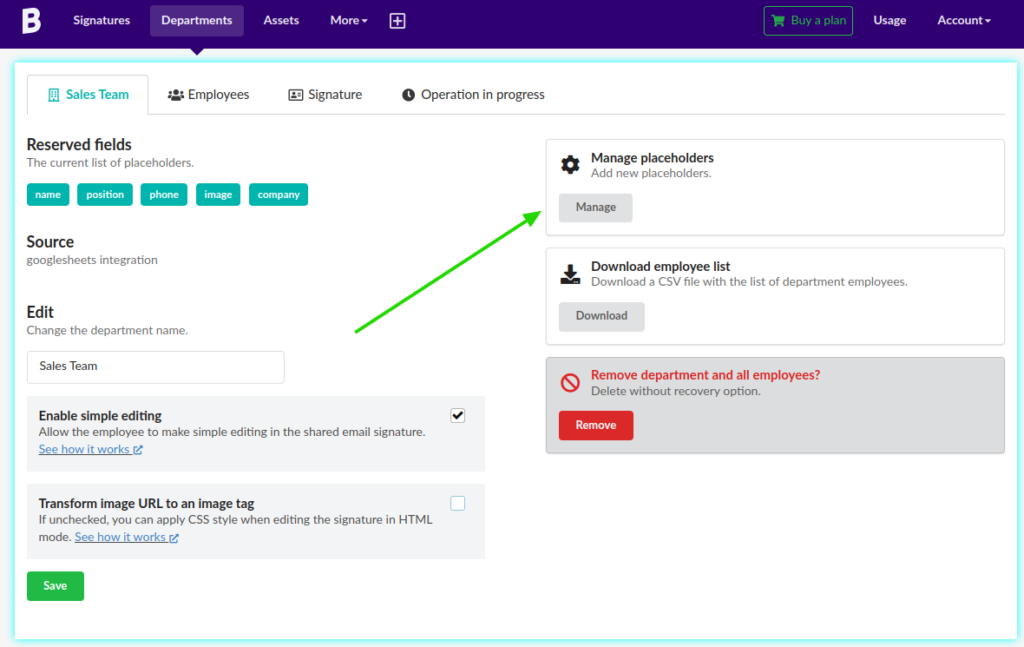
Add placeholders
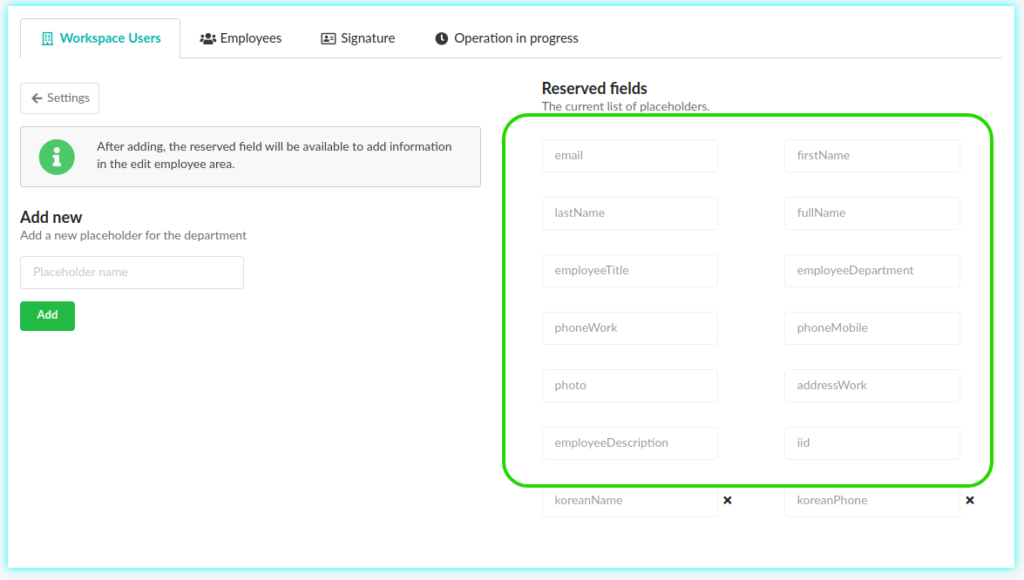
In this part, you can add or remove placeholders. By doing so, these fields will be available in the employee’s profile when you click on Edit, in the employee list. (see next section – Filling in placeholders manually)
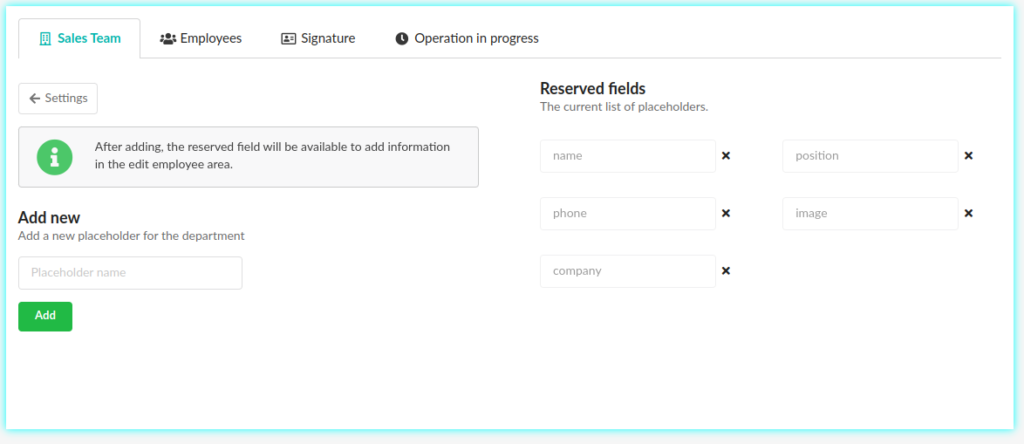
But note that some integrations, have fixed fields. So they cannot be removed. For example, the integration with Google Workspace and Freshdesk.
Filling the placeholders manually
After adding a placeholder, you will need to fill in the data for each employee. Visit the employee list, and click the Edit button.
In this quick video, you can see that you can add a face photo of the employee manually. All the fields added in the automation will be listed in this part.
Changing employees can be quick if you use this option.
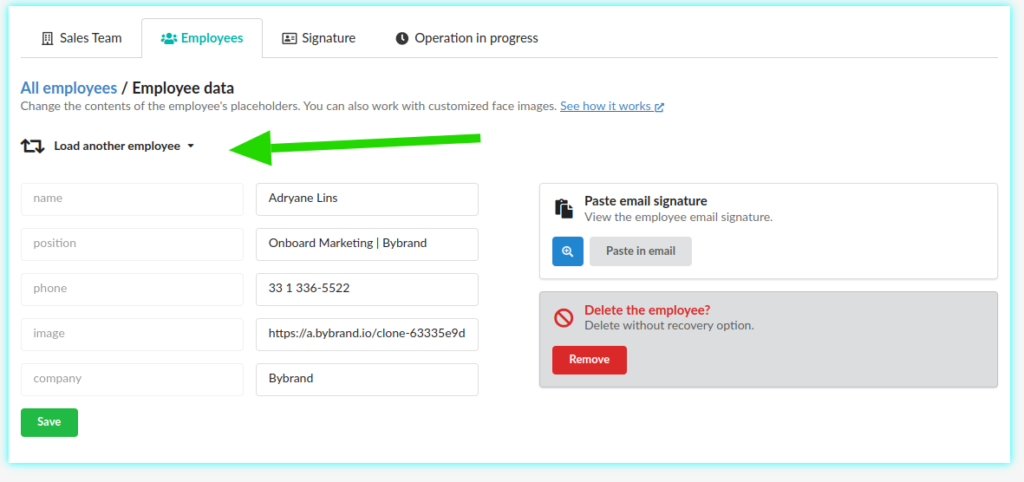
The field accepts any type of information, be it numeric, URL or normal text.
Video tutorial
In this quick video, we will watch how to list and use placeholders in email signatures.