
This post is also available in:
Zoho CRM is a secure business CRM platform for managing sales processes. Bybrand offers native integration with Zoho CRM for quick email signature deployment.
In this step-by-step tutorial, we will see how to activate and use the integration. In the end, a quick example of how to update an email signature on a Zoho CRM user account.
Important information:
- You cannot update the email signature on a disabled user;
- Zoho CRM sets limits for API calls to your account, based on your plan;
Video tutorial
Activating Zoho CRM integration
To keep your account and passwords secure, Zoho CRM uses the OAuth 2 protocol for authentication and authorization of third-party applications. We will go through all the steps in the administration area of Bybrand together.
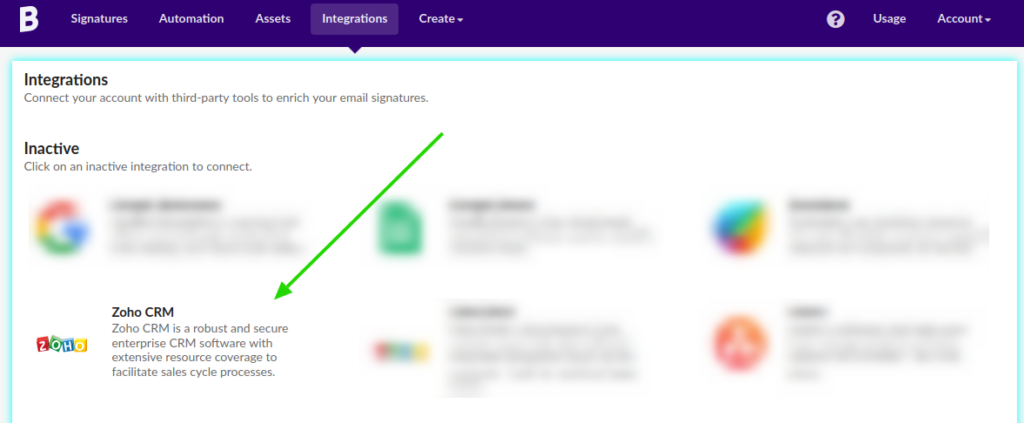
Visit the Integrations menu. You will see the Zoho CRM integration, as demonstrated by the example below:
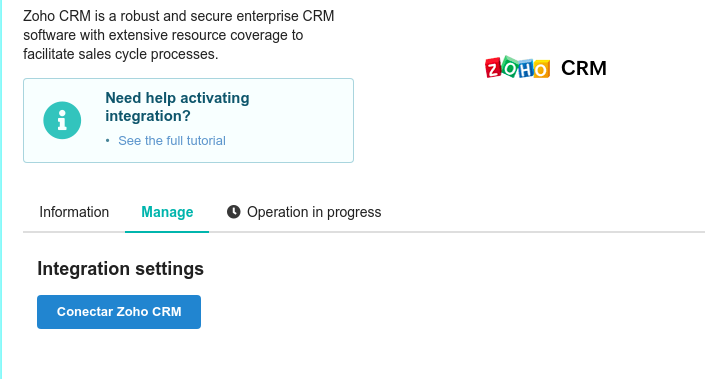
On the main integration page, you’ll see what you can do with active integration. Navigate to the Manage tab and click Connect Zoho CRM – the blue button.
After clicking the button, you will be redirected to the Zoho CRM authorization page, similar to the image below.
You can only complete this step if your Zoho account has administrator rules.
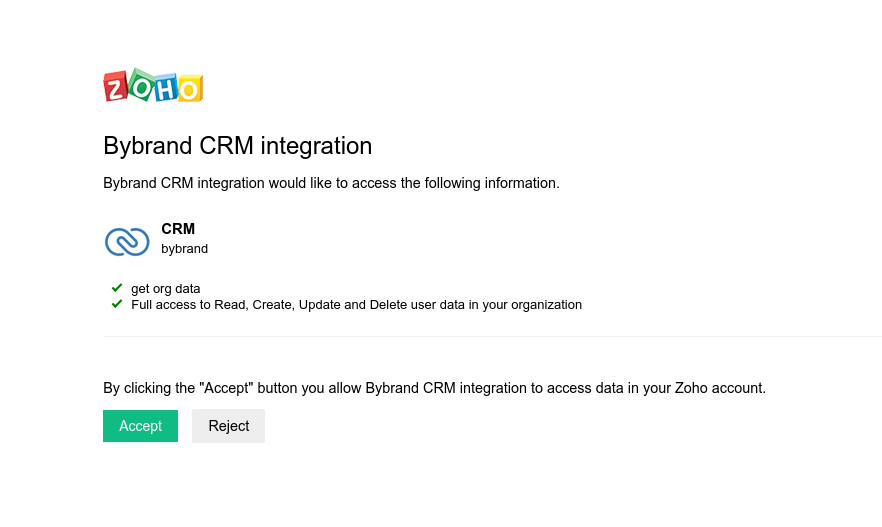
Note: You will grant-access for Bybrand to read your organization’s data and full access for its users. This is necessary to update the email signature remotely.
Click in Accept to confirm the authorization.
If you receive a success message, authorization is complete. Congratulations!
Loading the users
Now it’s time to load your organization’s users into Bybrand.
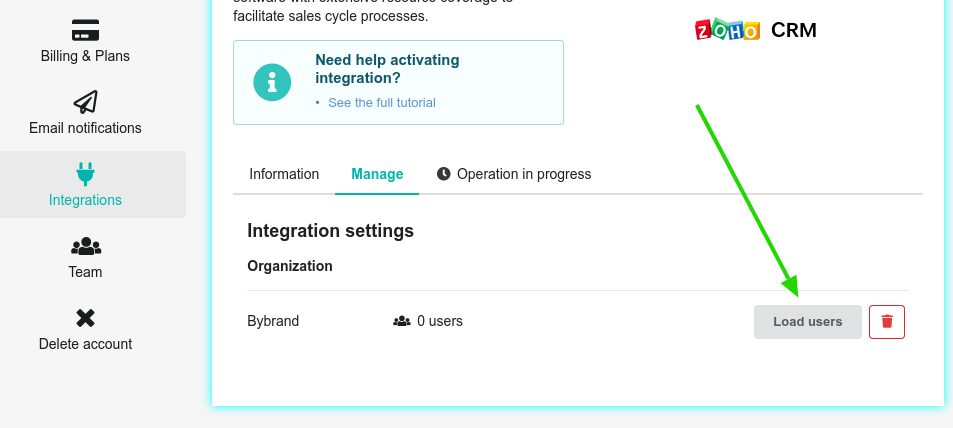
Click the Load users button, like our example below:
A side menu will open so that you can choose the types of users you want to load.
Are they:
- All users (Both active and inactive users.);
- Confirmed only;
- Active and confirmed only (Active users who are also confirmed.);
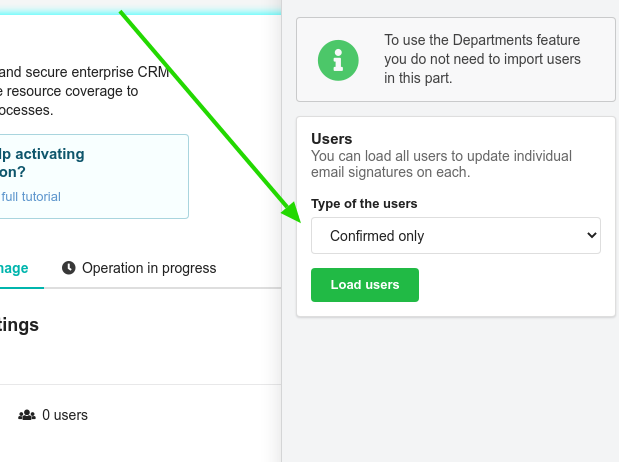
To finish, click on the Load users button. This step is done in the background.
If everything is correct, the number of users will be updated.
See our example below:
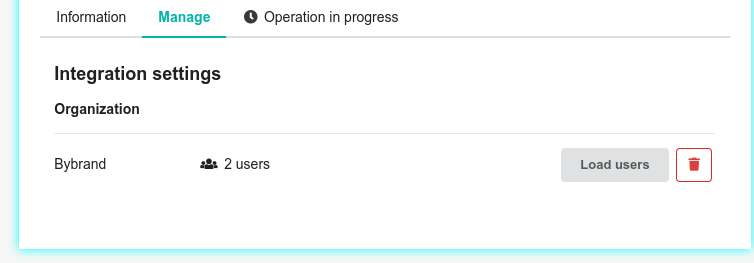
We have two users loaded from Zoho CRM.
Deploy the email signature
Now comes the most exciting part.
Supposedly, you must have already created an email signature for your salespeople. So, let’s update it on a Zoho CRM user account.
The advantage of native integration is that you have complete control over all users’ email signatures.
Visit the Signatures section, and click the Paste in email button in your signature email. When loading the page, see the active integration on the left side.
Choose the user from the list and click Update signature.
In the Zoho CRM user account
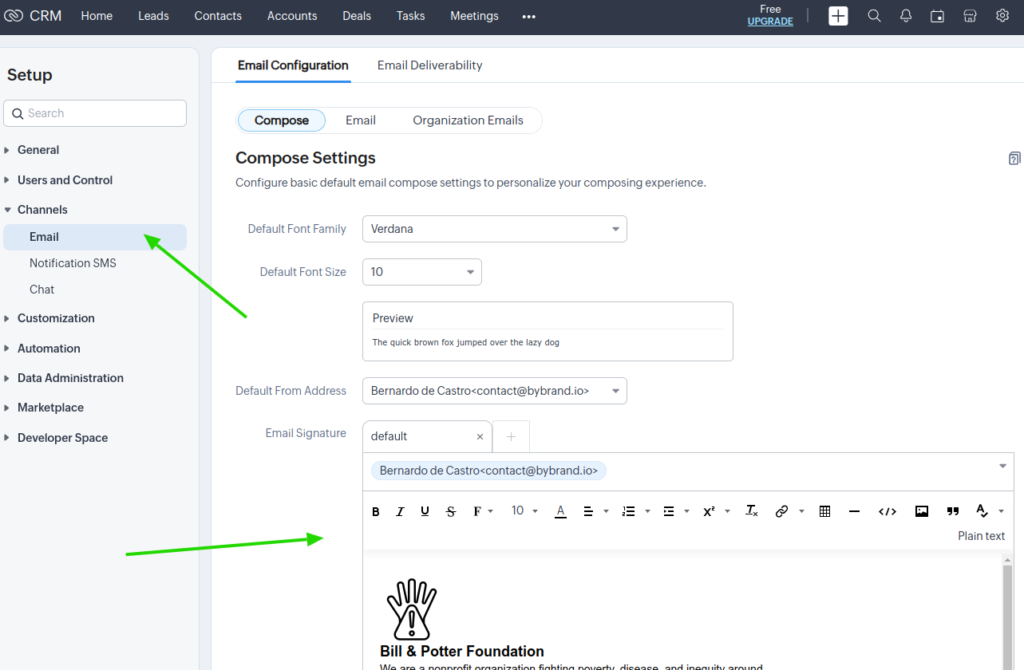
Now, let’s see how the email signature is displayed in the user’s account on the Zoho CRM dashboard. Click on the Settings icon, then on the Channels – Email option.
In this part, you will be able to see the modern email signature for the user.
It’s done! Please contact our customer support if you have any questions or difficulties with Zoho CRM integration.