
This post is also available in:
In this step-by-step tutorial (with a video at the end), we will show you how to create email signatures with a CSV file containing a list of employees.
You can retrieve your employee list from many external sources, such as CRM software, HR software, or employee directories.
About the CSV file
CSV files are text files that represent tabbed data and are supported by most applications that manipulate tabbed data, such as Google Sheets, Excel, or LibreOffice Calc.
Normally, you can create tabular data with these applications and, at the end, export it to comma-separated values (CSV).
Here is an example of exporting with Google Sheets:
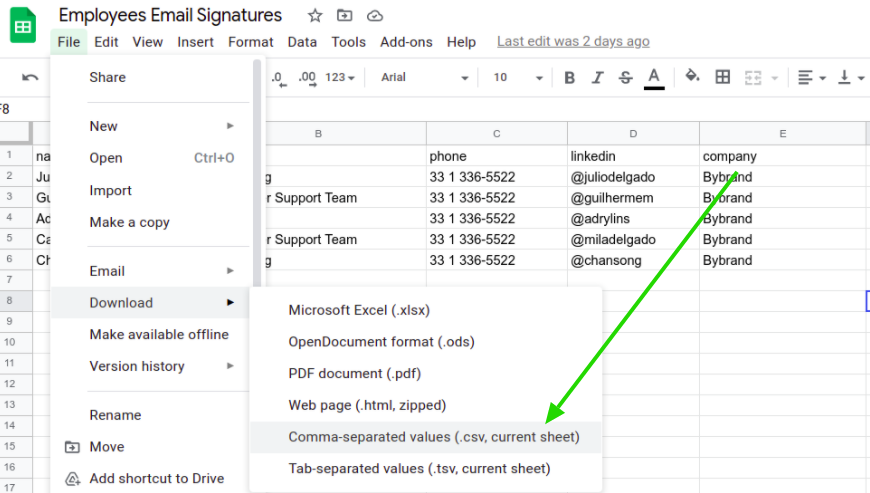
In plain-text format, it simply looks like the example below if you open the file.
name,email,position,phone,linkedinProfile
Bill Gates,bill-gates@company.com,Customer Support Team,1 336-5521,https://www.linkedin.com/in/williamhgates/
Satya Nadella,satya-nadella@company.com,Customer Support Team,1 336-5522,https://www.linkedin.com/in/satyanadella/
Creating a CSV file
Before starting the import, set the correct format and check for no missing headers; the import will fail if that happens.
Here is an example of line 1, with five headers (columns):
- fullName
- position
- phone
- linkedinProfile
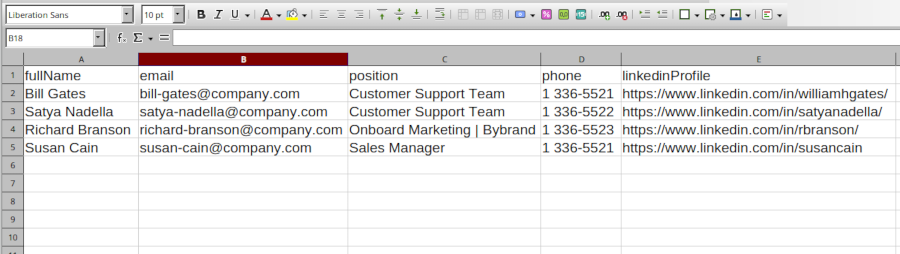
The first line (header) is the placeholders that you will add to the email signature later. The following lines are employee data for each interaction.
Here is an example file for download. But you don’t need to be limited to it; you can also add or remove columns.
Importing a CSV file
With your list of employees created, now comes the best part. Let’s import the file into Bybrand.
Sending the file
- Visit the menu Automation – Create a new group.
- Choose the CSV option.
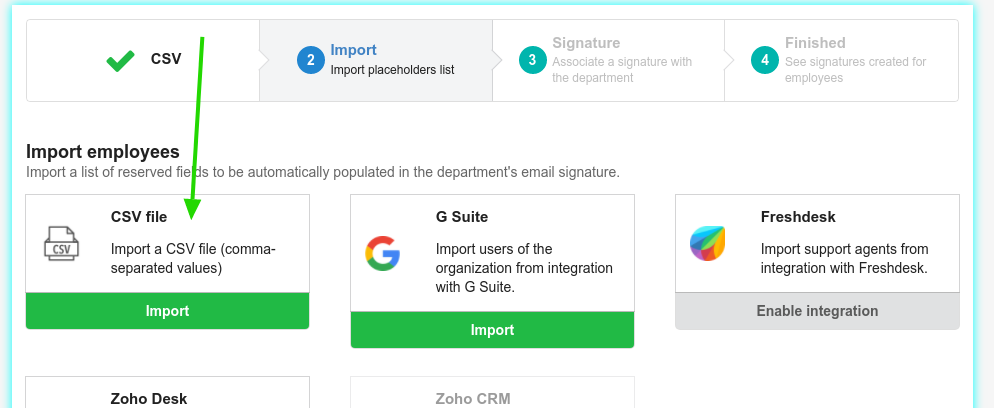
- Next, click to Choose file and submit.
- It is possible to see a preview of the file before the import; if everything is correct, Confirm and import.
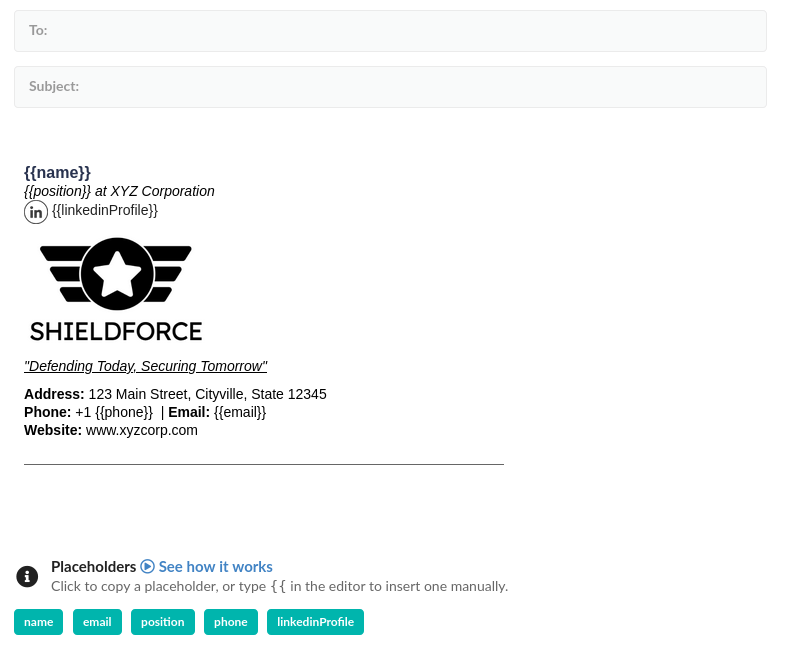
Next, you must associate the email signature with the automation.
Adding a signature to the automation
After successfully importing the employee list, you must associate an email signature with the newly created automation in the next step.
Remember that the email signature must have the items from the first line of your file. Here is an example of an email signature with mapped placeholders.
Read a complete tutorial on how dynamic email signatures work at this link below.
Video tutorial
Here we have a complete video tutorial with all the steps above.
Extras
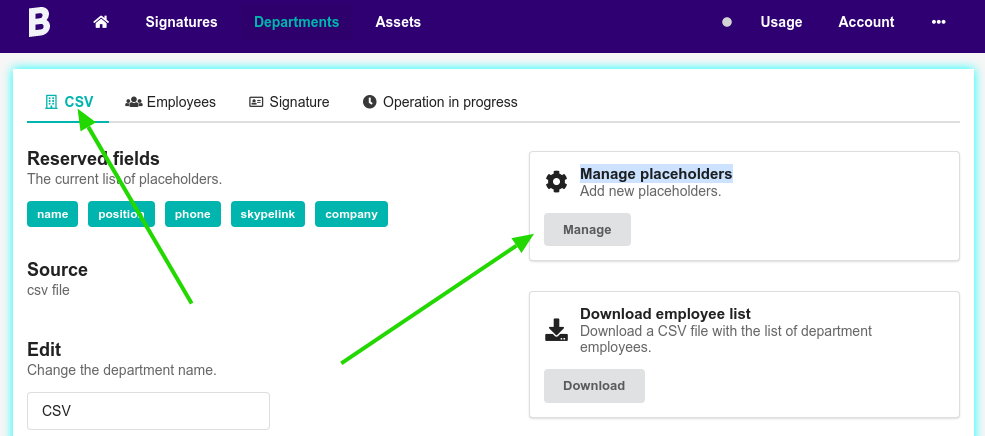
If you want to make basic changes like adding new header fields, you can visit the Settings menu.
An alternative is also to export the list of employees, make the advanced modifications in MS Excel, and when complete, send the file to a new automation.
You can associate the same signature if you delete the old automation or clone the email signature from that automation.