
This post is also available in:
You can add predetermined tags to create a flexible marking system, making it easier to find images in Assets. Tags allow you to categorize and locate images in the gallery more quickly.
There are 3 ways to define tags for images:
- Manually, by clicking on the full view of the image
- In the Upload image to Assets option (how to do it here)
- Automatic image tagging using AI
What are the pre-defined tags?
To see the list of system tags, visit the Assets section, then click on the More – Tags button.
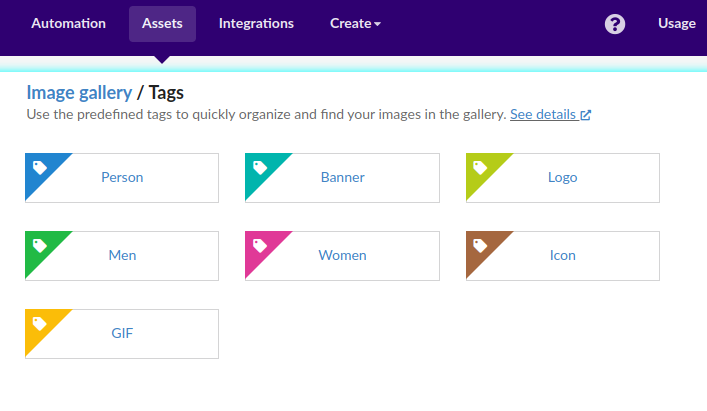
The system’s predetermined taxonomies are as follows:
- Person
- Logo
- Banner
- Men
- Women
- Icon
- GIF
- Button
Generally, these are the standard categories applied to images when you upload them for use in email signatures.
How to add tags
The simplest way is manually, by clicking on the full view of the image. Visit the Assets section, choose an image by clicking on the Full view button.
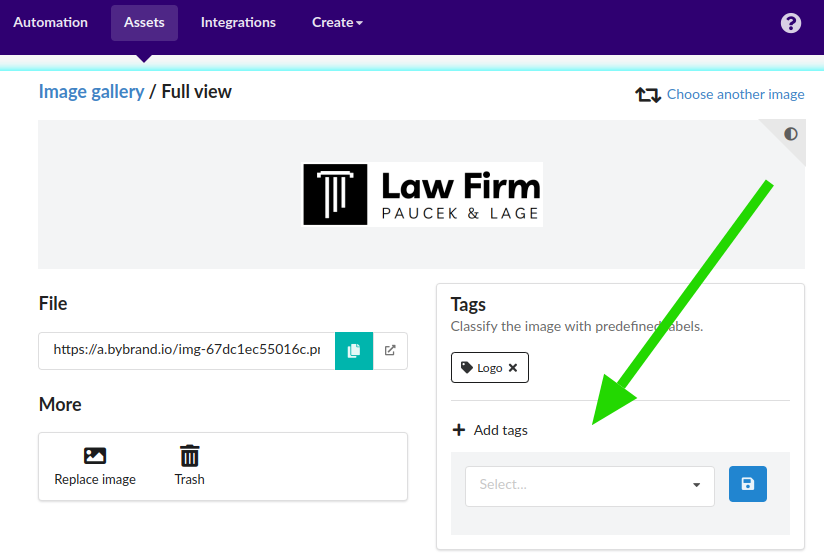
Then classify the image with predefined labels and click to save.
To remove the label, click on the (x) icon. You will always have the option of adding it again.
Filtering images with tags
Now you can easily filter images with a tag in Assets.
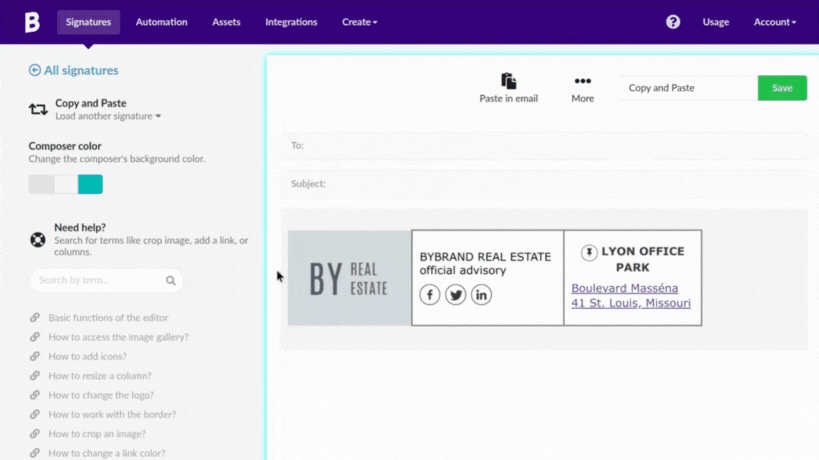
Filtering with tags in the signature
When editing a signature, you can filter the images using tags, making it easier to quickly find the image you want.
Auto tags
This feature automatically analyzes the visual content of images uploaded to the signature and applies relevant tags based on what AI identifies in the image.
For example, if you upload a photo of a corporate logo, AI can automatically apply tags such as “Logo” and other specific characteristics identified in the image. This will save time and make the categorization process more efficient and accurate.