
This post is also available in:
In this quick tutorial, we will see the steps on how to add a best regards field to your email signature – with video support in the end.
The final result will be like this example:

Adding the best regards field
First, select to edit the email signature using the Bybrand editor.
Then, click the Add options button, and choose the custom area option. We will click on the Header Area item to add an extra area at the top for this tutorial.
See the example:

The area is added with default content.
Customizing
The next step is to customize the content. We will change the text to “Best regards!” and add a dashed line to mark the beginning of the email signature.
The final result you saw in the first image.
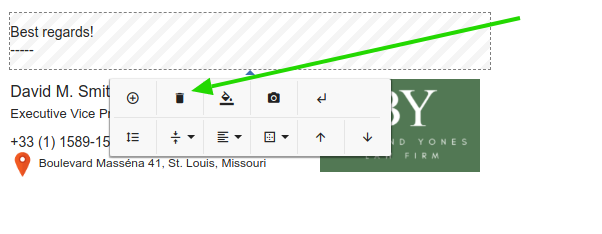
Removing the custom area
Removing is easier than adding. Click on the corner of the area until you create a selection. Then, click on the editor’s trash can icon.
See the example:
The field will be removed.
Video tutorial
As promised, see the full video of all the steps above.