
This post is also available in: Português
In this tutorial, you will learn how to create an HTML email signature with custom attributes from Microsoft Exchange using the Bybrand editor. The HTML signature with Microsoft Exchange variables allows you to insert dynamic information, such as name, title, and phone number, directly into your email signature.
This provides a professional and personalized appearance to company emails easily. In addition to saving money compared to software like Exclaimer or CodeTwo, as you will only use 1 signature.
Activating the integration
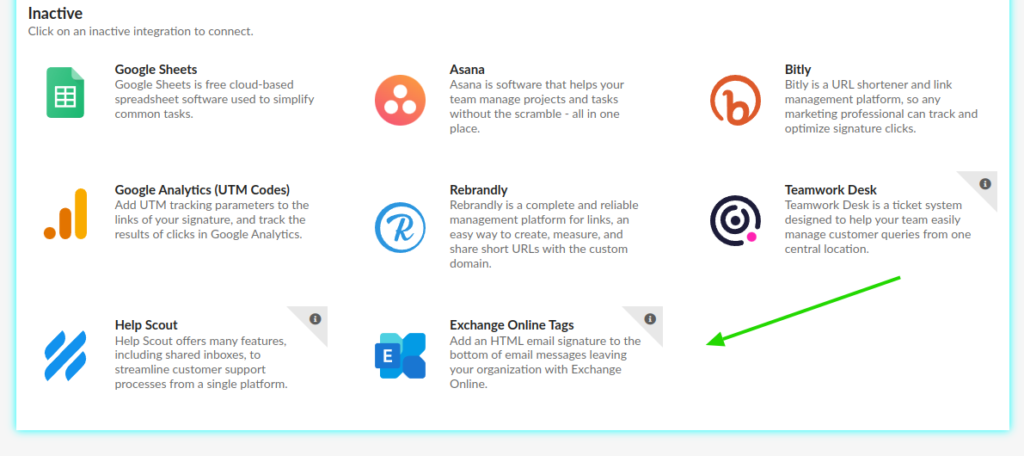
To activate, visit the Integrations menu and click to connect with Exchange Online Tags, as seen in this example.
You will be directed to the main integration page, with some instructions and what is possible to do. These are the variables that will be available in the signature editor.
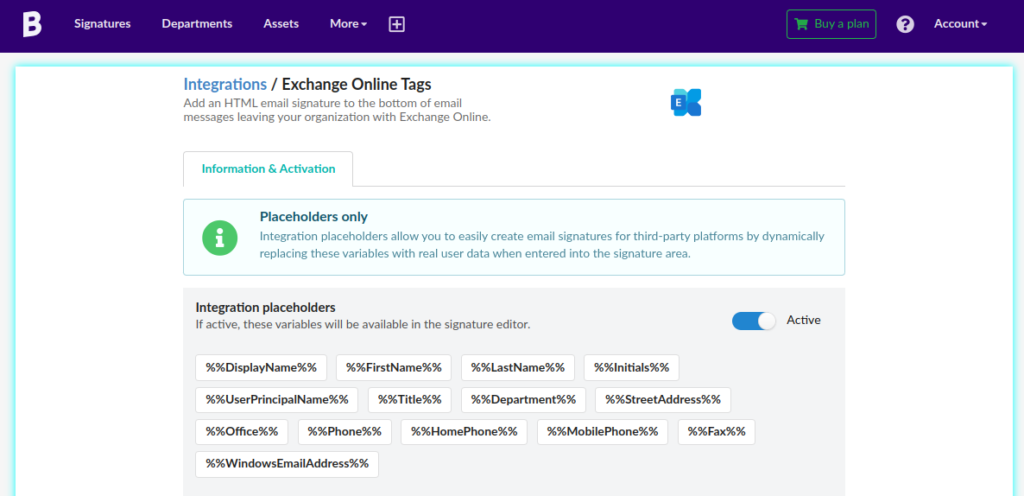
Here is the list of useful user variables that you can manually use in the HTML mode editor too.
- %%DisplayName%%
- %%FirstName%%
- %%LastName%%
- %%Initials%%
- %%UserPrincipalName%%
- %%Title%%
- %%Department%%
- %%StreetAddress%%
- %%Office%%
- %%Phone%%
- %%HomePhone%%
- %%MobilePhone%%
- %%Fax%%
- %%WindowsEmailAddress%%
Creating a signature
Follow the steps below to create your custom email signature with attributes.
- Create a new HTML signature by clicking on New Signature under the Signatures option.
- In the editor, click on the area where you want to add the variable, and then the Exchange attributes will be available in the editor by typing double brackets {{.
- Add the variable through the dropdown list.
- Choose the variable you wish to add to your signature, such as name, position, phone number, etc.
- Customize the design of your signature using the formatting options available in the editor.
- Once you have finished creating your signature, click on Save.
- Follow the instructions from Bybrand to deploy your new signature in Microsoft Exchange.
Video tutorial
By following these steps, you will be able to create a custom HTML signature with Microsoft Exchange variables using the Bybrand editor. For further clarification, we have recorded a video tutorial with all the above steps.