
This post is also available in: Português
The Departments feature streamlines the creation of standard employee email signatures by adding reserved fields filled at once. The idea is to save you time in managing email signatures.
In this tutorial, we’ll write down how to create and manage departments and deploy an email signature to the department.
Creating the first department
The first thing you need to do is have a department in mind or create a “General” department to cover them all.
As the illustration shows, we’ll create a department named “Sales team.” First, visit the Department’s Menu and then Create departments to start.
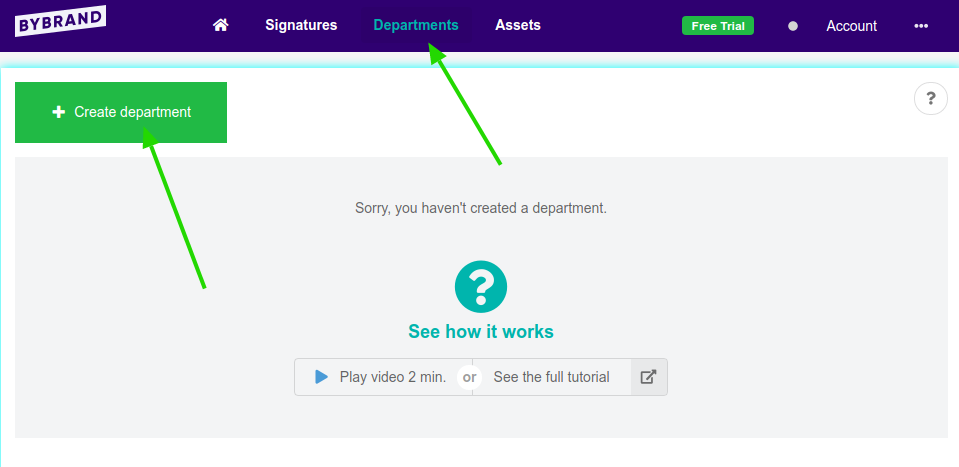
Fill in “Sales Team” in the text field for the name. Or you can use a general department name, to cover the whole company.
Importing employee files
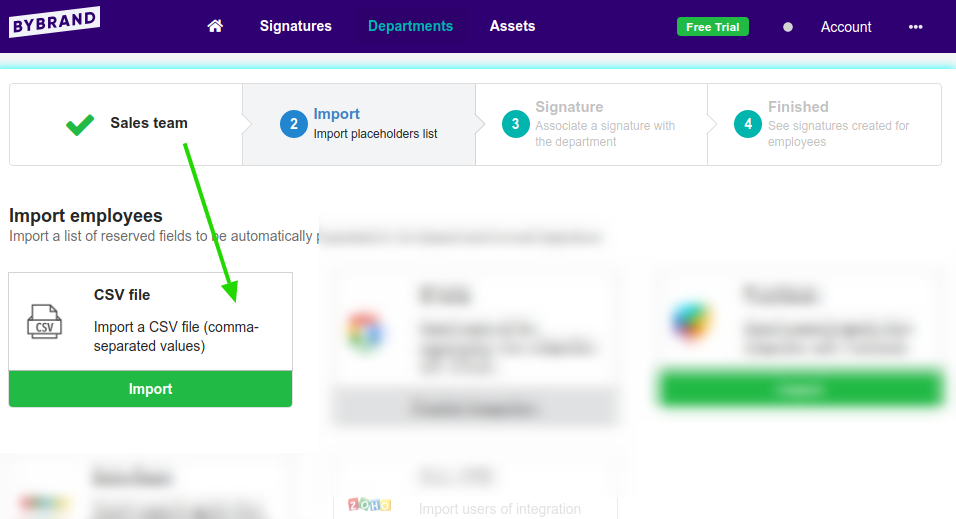
This is the step where we’ll import your employee list into the department. You can do that with a CSV (comma-separated values) file, easily created with a sheet.
For now, ignore the other import methods.
There’s an example on the Importing page that can be downloaded for future reference. The first lines are the keys to the reserved spaces. The following lines
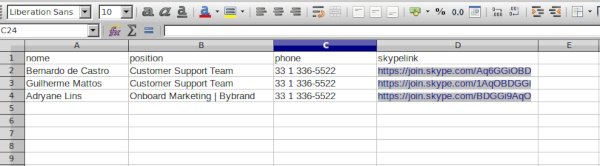
The placeholders in this example are: “name“, “position“, “phone” and “skypelink“.
If the import is successful, Bybrand will display the first employees to confirm. Click in Confirm and Continue to go to the next step.
Now it’s time to take the third step: associate an email signature with the department.
Associating an email signature
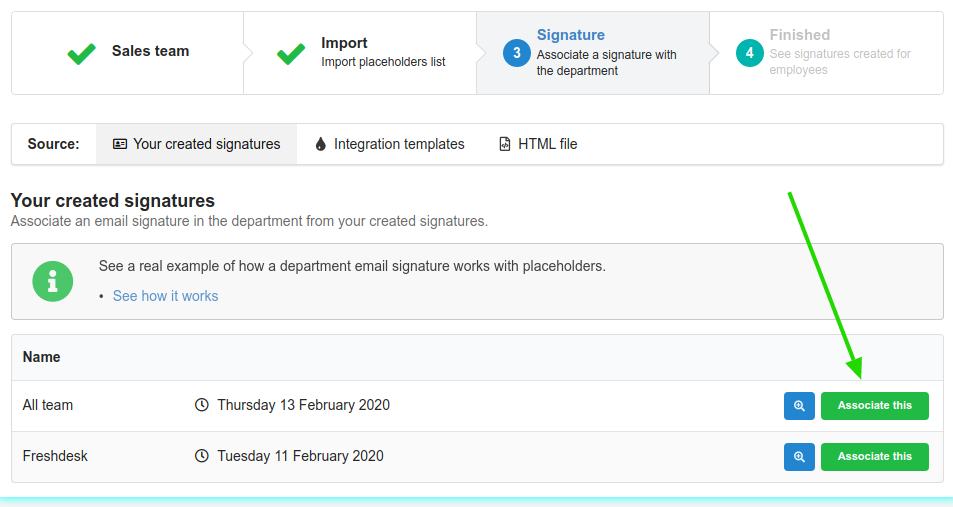
The step now is to associate a standard email signature to the department, and it needs to have the placeholders that should be changed with the real data, the ones you imported.
You need to create a normal signature in the Signatures tab and give it a name referencing the department.
About the department email signa ture
The department signatures are created using “placeholders” to be replaced with real data of the employees.
{{key}}
Two left curly braces, “tag name,” two right curly braces.
Here is an example of a departmental signature:
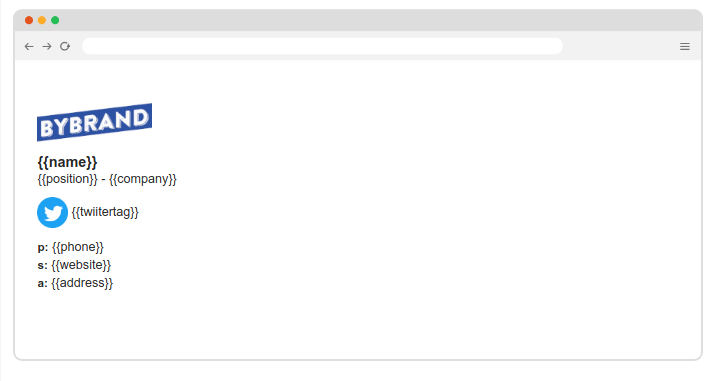
These fields will be replaced by real employee data listed in the information form you imported.
Placeholders won’t work if you use a dot between names, for example: {{employees.name}}
Associating a signature
After you associate an email signature, you will present the success message with the fourth step. Then click the employee’s button to view the email signatures created.
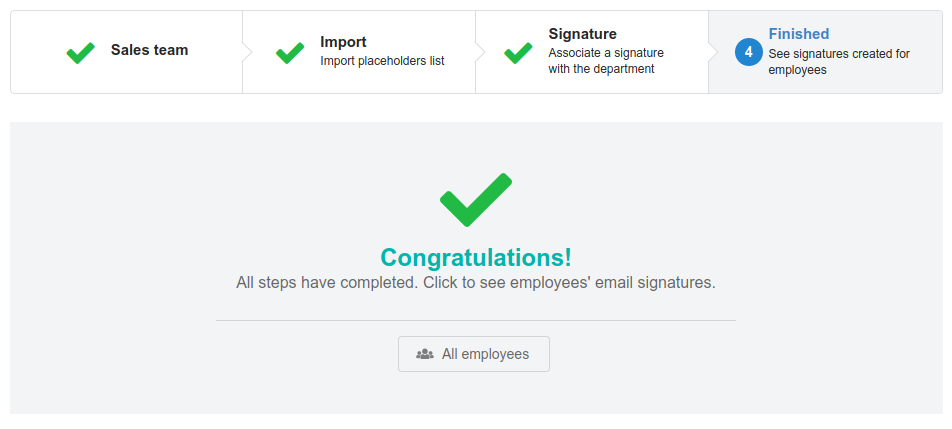
Viewing employees
You can view the personalized standard signature of each employee and paste it on each of their respective emails once you go to the employee menu.
Tips
This is all very useful if you have a high quantity of employees, let’s say 20 or more, you’ll be able to create an email signature for all of them with a very simple process.
- Placeholders work for links and text. This means that you can add a {{twitter-link}} in a URL.
- The email paste process also has the integration feature where you can send the signature to Google Workspace and Freshdesk.
- Use Mass Action to send instructions to the employee.
Video tutorial
Watch a video with all of the creation
Related
- How to create email signatures from a CSV file?
- How to create a Department email signature?
- Department: how to add a dynamic URL in the email signature;
All done, if you have any questions or problems, please reach out to our client support.