
This post is also available in: Português
After registering with Bybrand, the first thing you would like to do is create an HTML email signature. We will go through the steps of creating the first.
Creating your first email signature
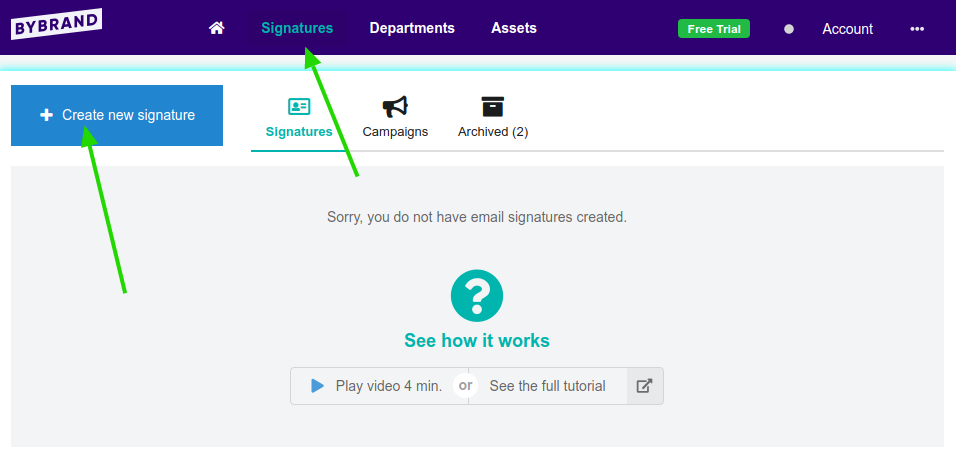
Click on Signatures and then on Create new;
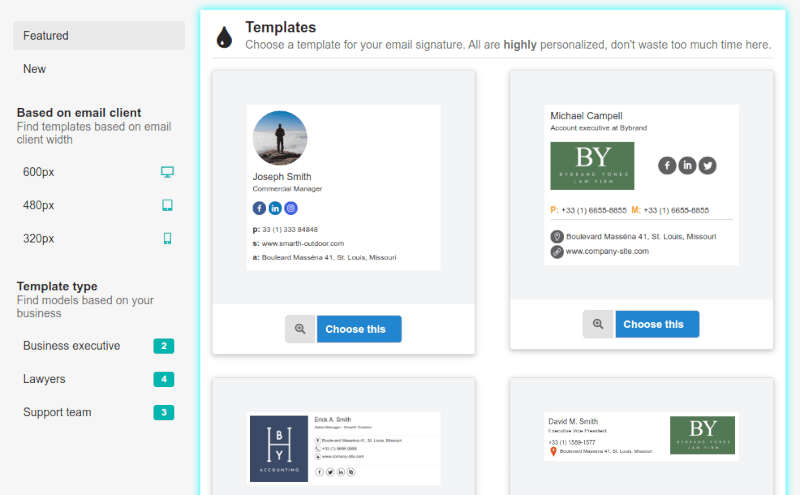
After, choose your first template from a very discrete list. You’ll be able to preview how the template shows in your email. After making your choice, click on Select;
After selecting your template, the next step is editing your personal information.
Editing the email signature
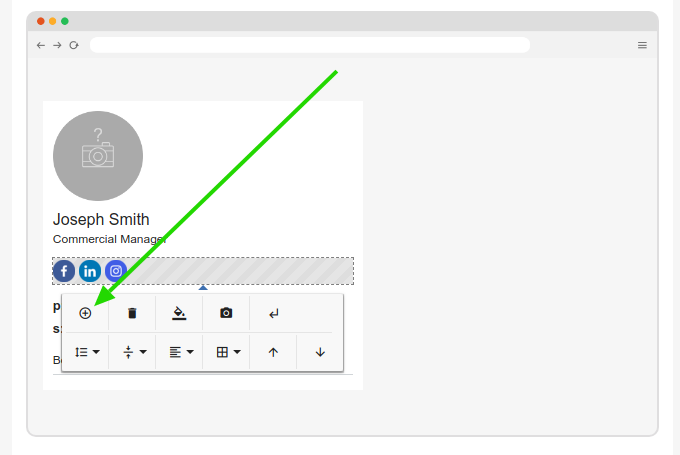
Now is the most exciting step, the time to personalize your signature! You can edit any text or images without limits.
The toolbar has many features, and, by clicking on the + button, you’ll be able to see new options like adding a new line, spaces, columns, or a disclaimer.
See this quick animation of how to add a line.
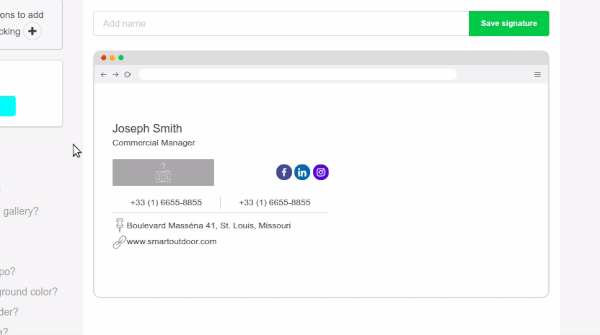
Right after adding your information, changing color and icons, save your email signature with a personal name so that you can identify it later.
Click on the green Save signature button. You can make changes after saving at any moment.
Here are a few extra processes that you’d want to make:
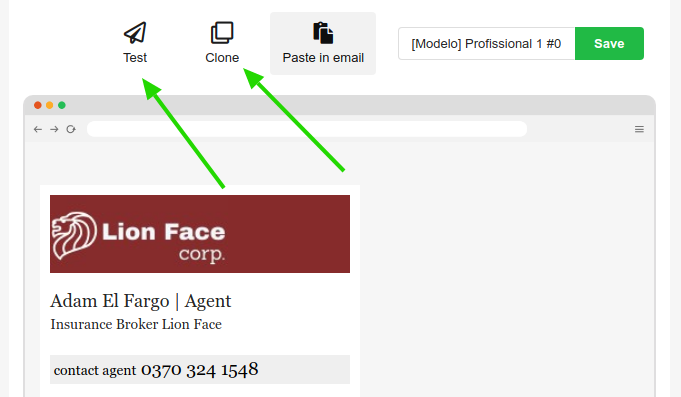
Sending signature test
It’s a good idea to send a test email to make sure the signature is being exhibited the way you’d like it to. Click on Test to send the template directly to any email address.
Cloning the current signature
You can create a new signature identical to your current one. This is a good way to save time.
In addition to the steps above, you can improve your email signature with these other quick tutorials:
- Lines: How to add or remove in an email signature;
- Icons: How to add or remove;
- How to add a logo to your email signature;
Pasting the email signature
Here are a few tutorials teaching how to paste the created email signature into the most frequently used email clients.
- Gmail – How to add an email signature;
- How to add a signature to Outlook.com;
- How to add a signature to Yahoo! Mail;
Complete video tutorial
This video tutorial will show you how to create your first professional email signature. A company logo could also replace that face photo if it suits you.
If you need any clarification or difficulties, please contact our support team via email or chat.