
This post is also available in: Português
The department feature allows you to have an email signature with dynamic images. The dynamic images are individually changed for each employee. An example of the use can be a personalized employee photo.
Please look at this example; the image tag has two left curly braces and two right curly braces.
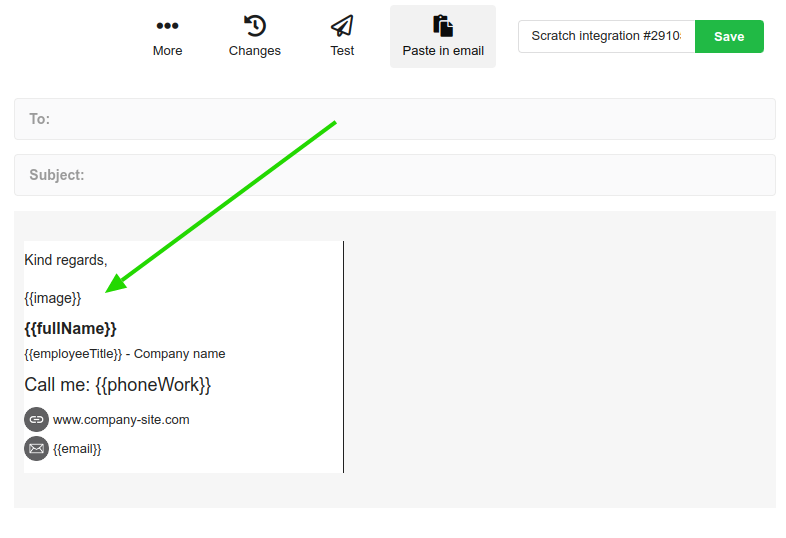
{{image}}
The content inside the tag doesn’t matter. You can use
Creating a placeholder for the image
If you have created a department already, you can add a new placeholder at the end to identify the image field.
Let’s go through two different methods of doing that:
From an existing department
In this step-by-step, we’ll also have a video explaining how to add an image field to your already existing department.
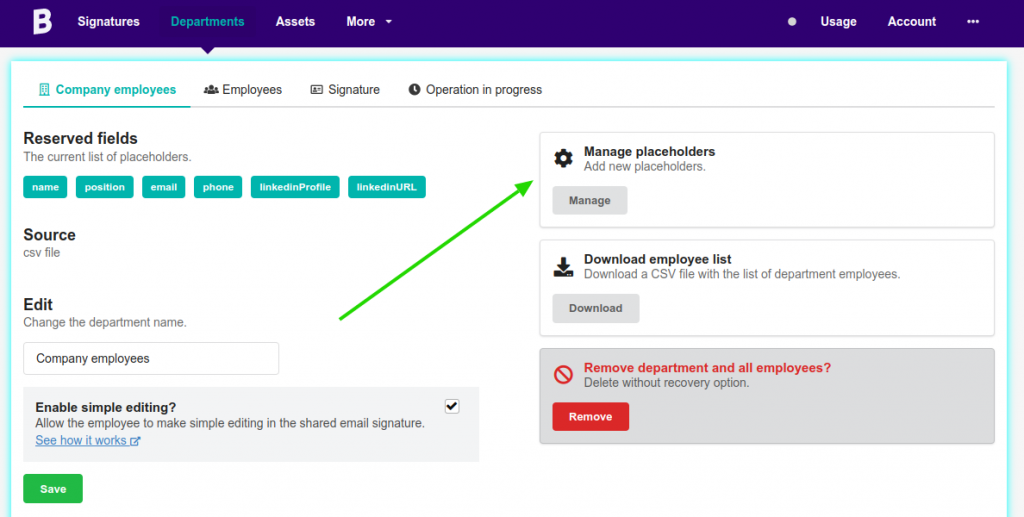
Visit the Department menu, click on Settings at the department you want to add a new placeholder field.
On the edit page, click on the Manage button and add the new field.
Watch a video showing the complete process for a
The created field can be seen at the end.
From a new department
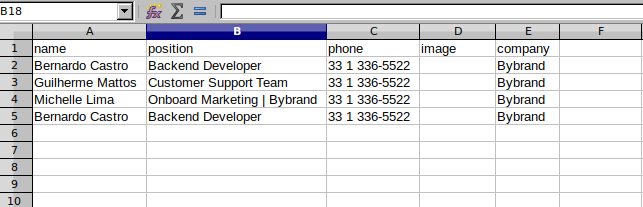
From a new department, all you need to do is create a column used to identify an image field that’ll be used to load the personalized employee images.
Here’s
Adding images to the placeholder
Now that you have the special column, you can add personalized images in the reserved field for each employee.
After the important notice, now we’ll add a link to the public image.
Adding an image to the placeholder
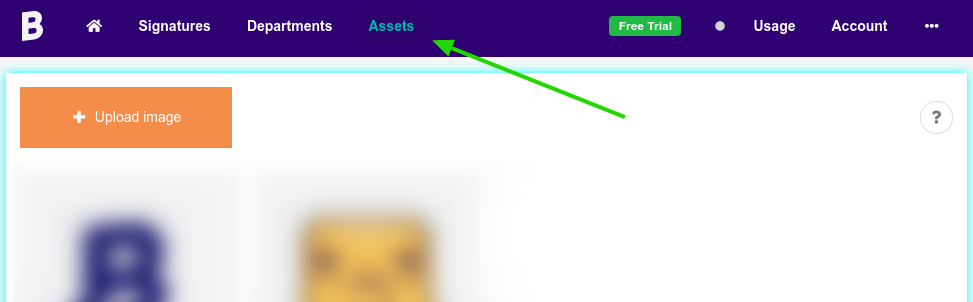
As a rule, the image needs to be previously loaded into the Assets area.
The first step is to leave the field corresponding to the image empty to enable the button to open your Assets gallery.
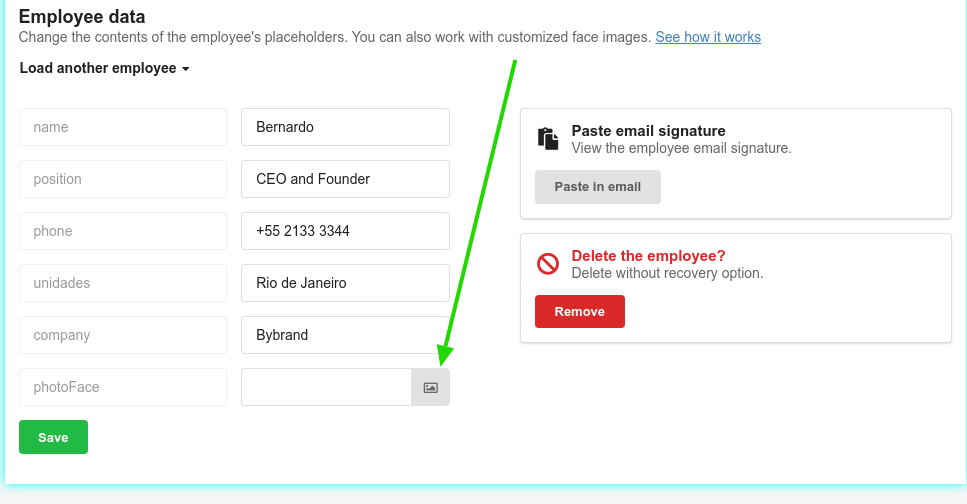
When you click the button, the image gallery will open for you to find the employee’s image.
If the image is not in the gallery, you need to upload a new image. You can go to the Assets area and upload all the employee images, as seen in the illustration below:
Or you can take a look at a more in-depth tutorial: How to upload an image to Bybrand Assets.
Full video tutorial
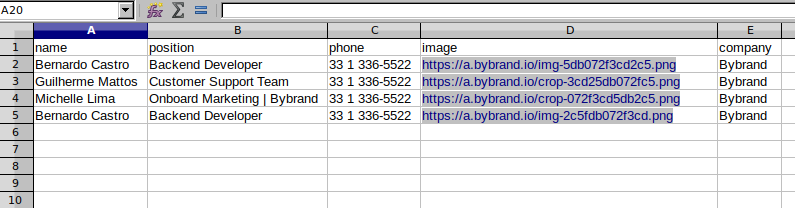
Adding a public link to the CSV file
You can also add a public link direct
The placeholder image field from the CSV file does not accept an image from another place, like an image from your website or any other.
As a rule, all images need to start with:
https://a.bybrand.io/
Here’s an example. You can change the link at any moment after importing it to Bybrand.
Applying CSS-style to images
Bybrand transforms image URL placeholders to an image tag, but you can disable this option to apply CSS Style Inline if you edit the email signature in HTML mode.
Here we have a complete tutorial: