
This post is also available in: Português
Adding a banner to your professional email signature can make perfect sense if you want to do marketing. It aims to increase traffic on the website, blog, promote an event, promotion, or product in e-commerce.
E-mail signature example with banner

There are two ways to send a banner to your email signature on Bybrand.
Let’s see both cases:
1) Upload a banner from the signature editor
If you have the banner image on your machine, you can send the item to the email signature via the HTML editor. See this example of how to upload an image for the signature.
Click on any text area, then on the image icon.
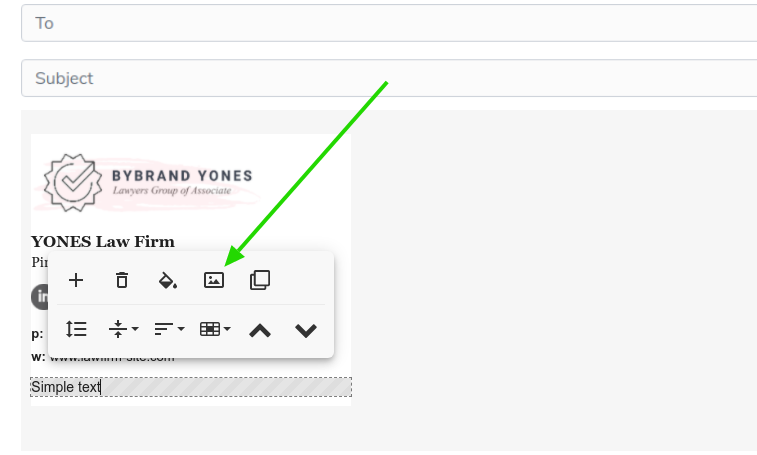
Then upload the image.
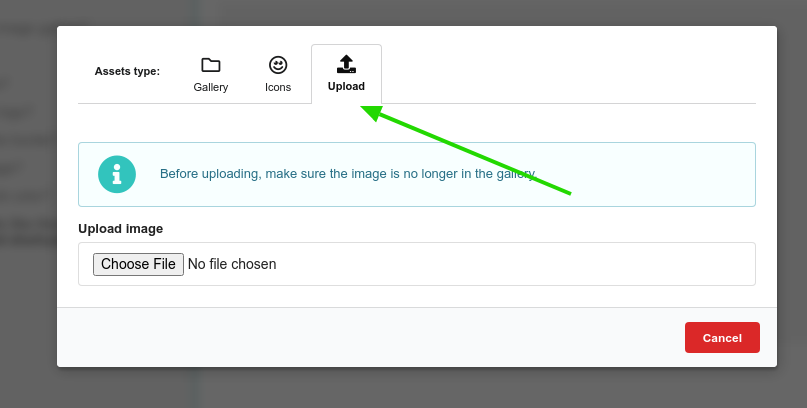
In addition, by clicking on the current image, you can also change it by adding new content or linking to a URL.
2) Upload a banner from Assets
The second method is using the Assets feature option.
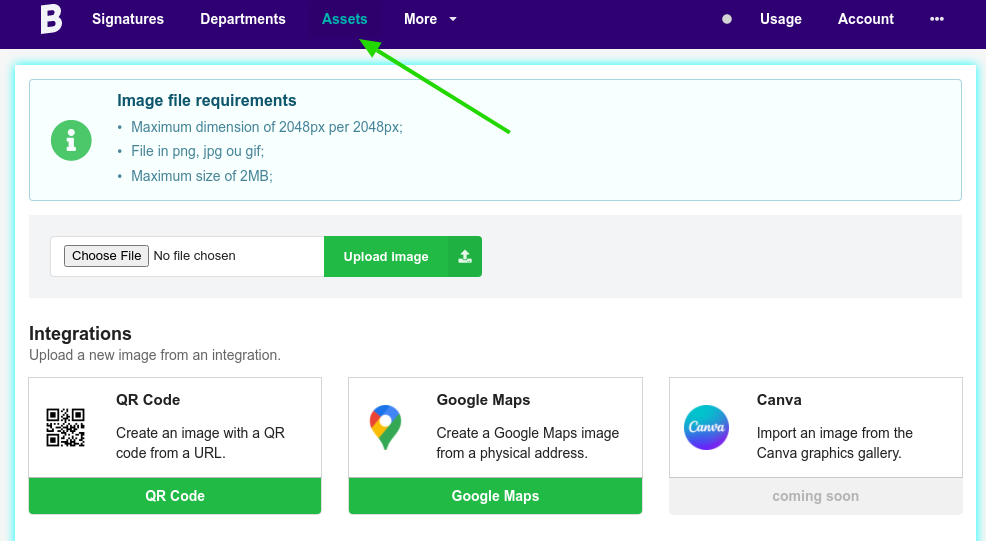
In the Assets option, there are integrations where you can get more resources from third-party sources—for example, generating a QR Code or a Google Maps with the address of your physical store.
This way, you can upload a banner for your signature within that feature. Then you can go back to the signature and upload it through the editor.
Video
Here we have a complete video with an example of adding a map banner. After, a custom link is added.
All images sent to the email signature are available in the Assets feature for further use and editing.
Read too
The goal of your banner is to get it clicked. So, adding a banner is super easy with Bybrand’s email signature editor.
As a complement, you can use these sites to create your images.
- Canva.com
- Crello.com
- Snappa.com